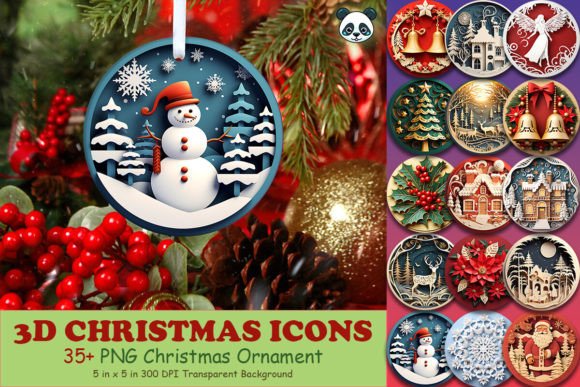
Papercut 3D Christmas Ornament Bundle: A Practical Guide to Digital Sublimation Success
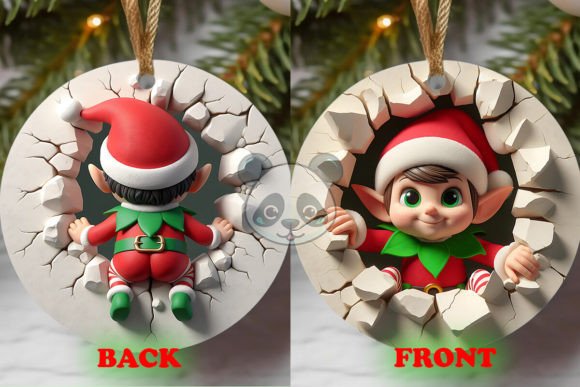
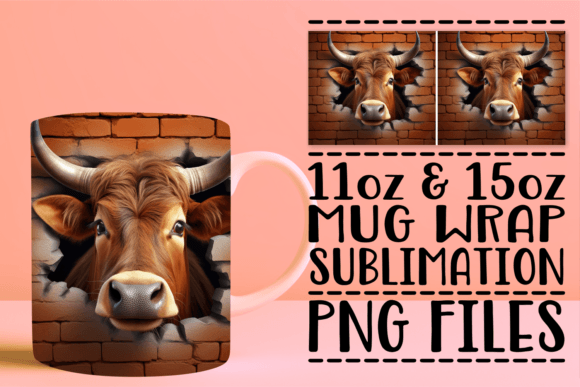
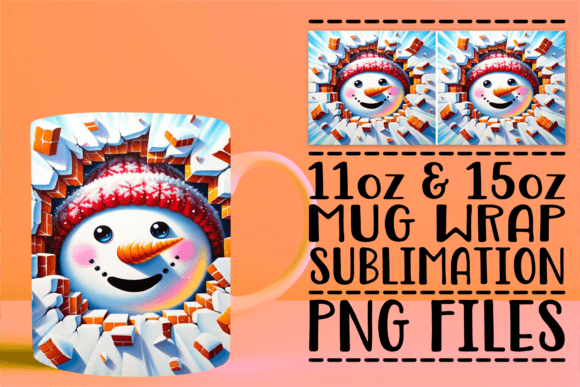
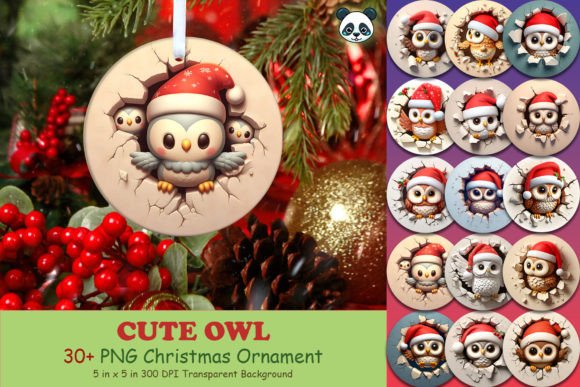
The holiday crafting season moves quickly, and having a reliable library of high-quality assets can make the difference between a stressful production rush and a smooth, profitable creative period. The Papercut 3D Christmas Ornament Bundle has gained significant traction among sublimation printers and digital crafters because it bridges the gap between intricate paper art and modern printing technology. This collection offers the aesthetic depth of traditional layered papercuts without the tedious manual cutting, allowing creators to produce dimensional-looking ornaments on flat substrates. However, owning the files is only the first step; understanding how to leverage them correctly is what ensures your final products look professional rather than pixelated or poorly composed.
When you acquire this bundle, you are receiving an instant digital download containing 39 PNG files at 5 inches by 5 inches with a resolution of 300 DPI. While these specifications are standard for quality sublimation, many users encounter avoidable issues during the design and print phases. These mistakes rarely stem from the files themselves but rather from assumptions about sizing, color management, and substrate compatibility. By addressing these common pitfalls early, you can protect your time, reduce material waste, and ensure your ornaments meet customer or personal expectations.
Understanding Resolution and Sizing Limitations
One of the most frequent errors occurs when creators attempt to resize these digital assets beyond their intended parameters. The Papercut 3D Christmas Ornament Bundle provides images at exactly 5x5 inches at 300 DPI. This is the optimal size for standard ornament blanks, but it is not infinitely scalable. Some users mistakenly believe that because a file is high-resolution, it can be stretched to fit larger items like garden flags or tumblers without consequence. When you upscale a 300 DPI raster image significantly, the software interpolates pixels, resulting in soft edges and a loss of the crisp definition that makes papercut designs appealing.
To avoid this, treat the 5x5 dimension as your maximum print area for high-fidelity results. If you need a smaller ornament, scaling down is perfectly safe and maintains sharpness. If you require a larger design, consider using the ornament as a central focal point within a larger composition rather than stretching the entire image. Always check your actual print size in your RIP software or design program before sending the job to the printer. Relying on thumbnail previews can be deceptive; verify the physical dimensions numerically to ensure the 300 DPI integrity remains intact for that specific output size.
Navigating Color Profiles and Transparent Backgrounds
Since these files are delivered as PNGs with transparent backgrounds, they offer immense flexibility for layering. However, transparency in sublimation requires careful color management. A common misunderstanding involves how white ink or white substrates interact with the digital file. Sublimation printers do not print white ink; they rely on the white base of the ornament blank to provide highlights and negative space. Beginners sometimes place these PNGs onto colored backgrounds in their design software without realizing that the "white" areas of the papercut design are actually transparent. On a white ornament, this looks correct. On a silver, gold, or dark substrate, those white details will disappear or take on the metallic hue of the base.
Before printing, always simulate your final substrate color in your design workspace. Place a colored rectangle behind the PNG layer that matches your physical ornament blank. This simple verification step reveals whether the contrast holds up or if the design needs adjustment. Additionally, ensure your workspace is set to CMYK if possible, or use a verified ICC profile for your specific printer and paper combination. Screen colors (RGB) often appear more vibrant than sublimation dyes can reproduce. Testing one ornament before running a full batch of 39 designs prevents the heartbreak of producing an entire set with shifted colors or invisible details.
File Organization and Workflow Efficiency
Receiving 39 unique designs in a single ZIP file is convenient, but it can lead to workflow chaos if not managed properly. Many creators unzip the folder directly into their active project directory, leading to duplicate files, version control issues, and difficulty locating specific designs later. Because this is a digital-only product with no physical backup, your local file management is your only safety net. Losing track of which version of a file was used for a previous order can make reorders inconsistent.
Establish a dedicated asset library structure immediately upon download. Create a master folder for the Papercut 3D Christmas Ornament Bundle and keep the original, unaltered PNGs there. When working on a project, copy the necessary files to your project folder rather than moving or editing the originals. Consider renaming files with descriptive tags if the default filenames are generic; searching for "red-truck-layered" is far faster than scanning through "design_024.png." This organizational discipline saves hours of frustration during peak holiday production times and ensures you always have access to the pristine source files.
Evaluating Design Complexity for Your Skill Level
Not all papercut-style designs are created equal regarding sublimation difficulty. While this bundle provides ready-to-print PNGs, the visual complexity varies. Some designs may feature extremely fine lines or delicate shadow effects that mimic deep paper layers. If you are new to sublimation or using a press with uneven pressure distribution, these intricate details might not transfer perfectly. Ink migration or ghosting can obscure fine elements, making the 3D effect look muddy rather than crisp.
Assess your equipment honestly before committing to the most complex designs in the bundle. If you are still dialing in your press settings, start with the bolder, higher-contrast ornaments to build confidence and establish baseline color profiles. Use the finer, more detailed designs once you have verified that your heat press provides even pressure across the entire 5x5 area. Remember that sublimation is a gas-transfer process; excessive pressure or incorrect timing can cause dyes to bleed outside their intended boundaries. Matching the design complexity to your current technical proficiency ensures consistent quality and reduces wasted blanks.
Verifying Commercial Usage and Product Presentation
For entrepreneurs and small business owners, the Papercut 3D Christmas Ornament Bundle represents potential inventory. However, a critical pre-purchase or pre-production check involves verifying licensing terms. Ensure the license covers your intended use case, whether that is selling finished physical ornaments, offering custom personalization services, or creating marketing content. Assuming commercial rights exist without reading the terms can lead to legal complications or platform takedowns on marketplaces like Etsy or Amazon.
Beyond legality, consider how these digital designs translate to perceived value. Customers cannot feel the texture of a digital papercut, so your product photography must communicate the 3D illusion effectively. Avoid flat, overhead shots that emphasize the two-dimensional nature of the sublimation print. Instead, photograph finished ornaments at angles that catch light and shadow, reinforcing the depth implied by the design. Show the ornament in context—hanging on a tree or displayed on a stand—to help buyers visualize scale and finish. Your presentation should bridge the gap between the digital file you purchased and the tangible heirloom your customer receives.
Ultimately, success with this bundle depends on respecting the technical parameters of sublimation printing while leveraging the artistic versatility of the PNG format. By avoiding resizing errors, managing transparency correctly, organizing files systematically, matching designs to equipment capabilities, and presenting products thoughtfully, you transform a simple digital download into a cornerstone of your holiday creative offerings. Take the time to test and verify before mass production, and these 39 designs will serve as reliable assets for seasons to come.